Stock Adjustment
Stock Adjustment
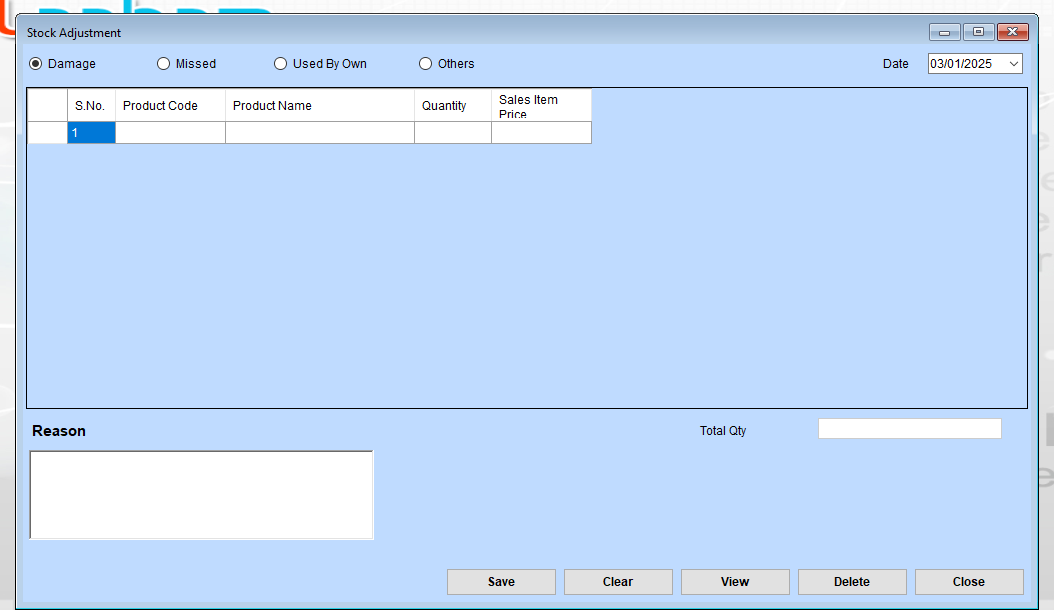
The stock adjustment system manages inventory changes due to damage, loss, internal use, or other reasons, ensuring accurate records.
Stock Adjustment Steps
Step 1: Select the Adjustment Type
At the top, select the appropriate reason for stock adjustment:
- Damage: If the stock is damaged.
- Missed: If the stock is missing.
- Used By Own: If the stock was consumed internally.
- Others: For other unspecified reasons.
Step 2: Fill in the Product Details
- S.No: The serial number is likely auto-generated.
- Product Code: Enter or select the code for the product you want to adjust.
- Product Name: The name may auto-fill based on the product code or you may need to input it manually.
- Quantity: Enter the quantity of the stock to be adjusted.
- Sales Item Price: Specify the price if relevant.
Step 3: Enter a Reason
Use the text box under “Reason” to provide a detailed explanation for the adjustment.
Step 4: Review Total Quantity
Verify the Total Qty field to ensure the entered quantity matches your adjustment records.
Step 5: Save or Perform Other Actions
- Save: To save the current stock adjustment record.
- Clear: To clear all fields and reset the form.
- View: To view previous stock adjustments or a summary of entries.
- Delete: To remove an existing record.
- Close: To exit the stock adjustment window.
Step 6: Date Selection
Confirm the date in the top-right corner is correct for the adjustment. Adjust if needed.