Group Master:
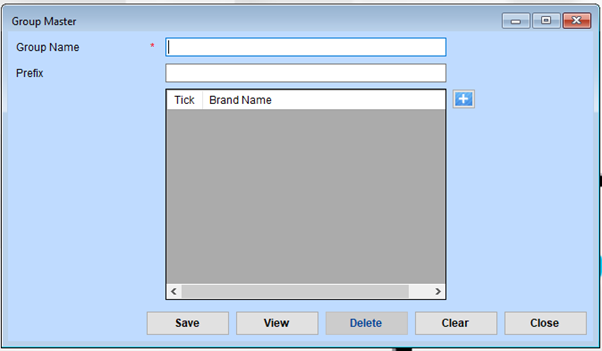
Enter the Group Name
- Group Name: Fill in the Group Name field (marked with an asterisk *). This is a mandatory field and represents the name of the group you are creating.
Enter the Prefix (Optional)
- Prefix: If applicable, provide a Prefix for the group. This might be used for easier identification or coding purposes.
Select Brands for the Group
- In the table below, tick the checkboxes next to the Brand Names you want to include in this group.
If the Required Brand is Not Listed
- Click the ”+” button to add a new brand.
- Complete the brand addition in the corresponding form, save it, and return to this form.
Save the Group
Once all details are complete, click the Save button to add the group to the system.
View Existing Groups
Click the View button to see a list of all previously created groups. You can search, edit, or delete entries as needed.
Delete a Group
Navigate to the View section, select the group you want to remove, and click the Delete button.
Clear the Form
Use the Clear button to reset the form and remove any unsaved data.
Close the Form
When you’re done, click the Close button to exit the form.